
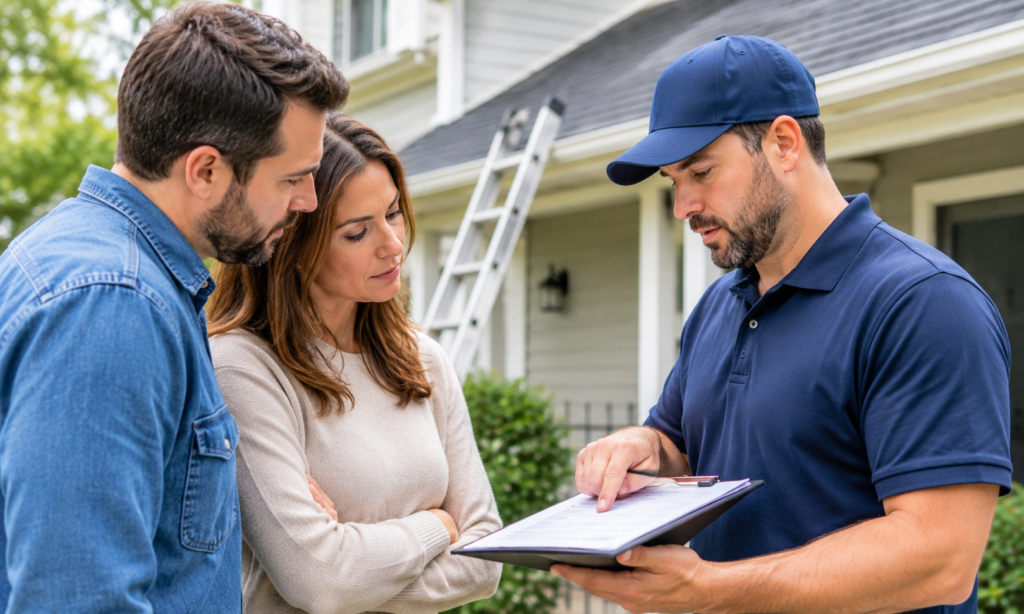
Planning an exterior remodeling project is exciting, but it can also bring questions. How long will the work take? When will materials arrive? Will you need to stay home during installation? And what happens after the crew finishes?
Understanding the process can make the experience much easier. Whether you are replacing your roof, updating your siding, installing new windows, or upgrading your gutters, knowing what happens at each stage helps you prepare your home and schedule.
A professional exterior remodeling company should explain the project clearly, communicate important updates, and help you understand what to expect from the first consultation through the final cleanup.
Here is a step-by-step look at a typical exterior remodeling timeline.
1. The Initial Consultation and Home Inspection
Most exterior remodeling projects begin with a conversation about your home and your goals.
During the initial consultation, the contractor will ask what you want to improve. You might be dealing with an aging roof, damaged siding, drafty windows, or gutters that no longer manage rainwater properly.
The contractor may also inspect the areas involved in the project. This helps identify visible problems, measure the work area, and understand the condition of the existing materials.
What Happens During the Inspection?
Depending on the project, the inspection may include:
- Checking the roof’s visible condition and measuring its dimensions.
- Looking for loose, cracked, or deteriorating siding.
- Measuring windows and reviewing possible replacement options.
- Examining gutters, downspouts, and drainage concerns.
- Identifying areas that may need additional attention.
This is also your opportunity to ask questions. Share your budget, preferred materials, design ideas, and any concerns about the work.
A reliable exterior home remodeling company should take time to understand your needs instead of rushing you into a decision.
2. Reviewing the Estimate and Project Details
After the inspection, the contractor prepares an estimate based on the project’s scope.
The estimate should explain what work is included, which materials are being considered, and what the expected costs are. It should also identify any important exclusions or conditions that could affect the final price.
What Should a Remodeling Estimate Include?
Before accepting a quote, review these details:
- Project scope: The specific work the contractor will complete.
- Materials: Product types, styles, colors, and relevant specifications.
- Labor: The installation work included in the estimate.
- Removal and disposal: Whether existing materials will be removed and hauled away.
- Additional costs: Any possible charges for unexpected conditions or extra work.
- Payment terms: Deposit requirements, payment stages, and final payment expectations.
- Estimated schedule: The anticipated start date and project duration.
Do not hesitate to ask for clarification if something is unclear. Comparing estimates from multiple contractors can also help you understand differences in materials, installation methods, and pricing.
3. Choosing Materials and Finalizing Your Design
Once you are comfortable with the estimate, the next step is selecting materials and confirming the project details.
Your choices can affect your home’s appearance, durability, maintenance needs, and overall cost. The right options will depend on your budget, home design, and local weather conditions.
Common Exterior Remodeling Material Choices
Roofing: Homeowners may compare shingle styles, colors, and product features when planning a roof replacement.
Siding: Vinyl and fiber cement are two options homeowners may consider. Each has different appearance, maintenance, and performance characteristics.
Windows: Frame materials, glass options, energy performance, and window styles can influence your selection.
Gutters: The right gutter system should fit the home’s roofline and help direct rainwater away from the property.
Before ordering, confirm the selected products, colors, measurements, and other specifications in writing. This helps reduce confusion once installation begins.
4. Scheduling and Preparing Your Home
After the project details are finalized, the contractor can work with you to schedule the installation.
The start date may depend on material availability, crew schedules, weather, and the size of the project. Exterior work is especially affected by weather because rain, strong winds, snow, and extreme temperatures can create unsafe or unsuitable installation conditions.
How to Prepare Before the Crew Arrives
A little preparation can help protect your property and make installation easier.
Consider these steps:
- Move vehicles away from the work area.
- Clear outdoor furniture, grills, and decorations near the house.
- Keep children and pets away from active work zones.
- Move fragile items away from windows and exterior walls when appropriate.
- Secure items in the attic or garage if the project could create vibration or dust.
- Make sure the crew can access the areas where work will take place.
Ask the contractor whether you need to make any additional arrangements. The preparation required for a roof replacement may be different from what is needed for window or gutter installation.
5. Material Delivery and Worksite Setup
Before installation starts, the necessary materials and equipment must be available.
Some materials may arrive shortly before the project begins, while others may be delivered earlier depending on scheduling and storage needs.
The installation crew will also prepare the work area. This may involve positioning equipment, setting up ladders, protecting nearby areas, and identifying safe access points.
For larger projects, the crew may work around different sections of the home to complete the job efficiently.
Homeowners should know where materials will be placed and which areas should remain clear. If you have concerns about landscaping, driveways, walkways, or outdoor belongings, discuss them before work begins.
6. Installation: What Happens During the Main Project?
Installation is usually the most active stage of an exterior remodeling project. The exact process depends on the type of work and the condition of the existing exterior.
Roof Replacement
A roof replacement generally involves removing the old roofing materials, preparing the roof surface, and installing the new roofing system.
The crew may also replace damaged components if those items are included in the agreed scope or approved through a change to the project.
Siding Replacement
For siding replacement, installers remove the existing siding as required, prepare the exterior surface, and install the new materials. Proper alignment and careful detailing around windows, doors, and corners are important parts of the work.
Window Replacement
Window installation involves removing the existing units, preparing the openings, setting the new windows, and completing the necessary sealing and finishing work.
Installers should check that each window operates properly and fits correctly.
Gutter Replacement
Gutter installation involves measuring and fitting the gutter sections, positioning downspouts, and checking that water can flow toward the appropriate drainage areas.
The installation process may take a few hours or longer depending on the home’s size and the complexity of the system.
Throughout this stage, a dependable exterior remodeling company should keep you informed about progress and communicate any unexpected issues before making changes to the agreed scope.
7. Final Inspection and Quality Checks
When installation is complete, the contractor should review the finished work.
This final inspection helps identify visible issues that need attention before the project is considered complete.
Depending on the project, the inspection may include:
- Checking that materials appear properly installed and aligned.
- Reviewing visible flashing, trim, edges, and transitions.
- Confirming that windows open, close, and lock correctly.
- Checking gutter alignment and water flow.
- Looking for visible damage around the work area.
- Reviewing any agreed project details that still need completion.
Walk around the property with the contractor if possible. Ask questions about anything that looks different from what you expected.
If you notice an issue, point it out before making the final payment. Make sure any agreed corrections are documented.
8. Cleanup, Final Walkthrough, and Project Handover
The last stage is cleanup and handover.
The crew should remove project-related debris and leave the work area in an orderly condition. Depending on the job, cleanup may include collecting leftover materials, removing packaging, and checking the surrounding property for debris.
For roofing projects, ask whether the contractor uses a magnetic tool to collect loose nails from accessible areas around the home.
During the final walkthrough, review the completed work and ask for any relevant product information, warranty documents, and project records.
Keep copies of your estimate, contract, receipts, product details, and written communication. These records can be useful if you have questions later.
Typical Exterior Remodeling Project Timeline
Every home and project is different. The following table offers a general example of how the stages may be arranged. It is not a guaranteed schedule.
| Project Stage | What to Expect |
| Initial consultation | Discuss goals and inspect the home |
| Estimate and planning | Review pricing, scope, and project details |
| Material selection | Choose products, colors, and specifications |
| Scheduling | Confirm the start date and prepare the property |
| Material delivery | Arrange materials and worksite access |
| Installation | Complete the agreed exterior work |
| Final inspection | Review installation and address concerns |
| Cleanup and handover | Remove debris and provide project documents |
A smaller installation may move through these stages quickly, while a larger or more complex project may take longer. Weather, product availability, and unexpected conditions can also affect the schedule.
Common Reasons an Exterior Remodeling Project May Be Delayed
Even with good planning, some projects take longer than expected. Understanding common delays can help you set realistic expectations.
Weather Conditions
Rain, snow, high winds, and unsuitable temperatures can interrupt exterior work. Contractors may need to reschedule installation to protect workers and ensure proper results.
Material Availability
Special-order products, custom windows, or specific colors may take longer to arrive. Confirm expected delivery dates before finalizing your schedule.
Hidden Damage
Contractors may discover concealed damage after removing old materials. Examples include damaged roof decking or deteriorated areas beneath siding.
If additional work is needed, ask the contractor to explain the issue, provide the proposed solution, and confirm any cost changes before proceeding.
Scheduling and Project Size
Crew availability and the size of the job can affect the start date and completion time. Projects involving several parts of the exterior may also require more coordination.
How to Make Your Exterior Remodeling Experience Easier
Good communication and preparation can make a major difference.
Before work begins, make sure you understand the project scope, payment schedule, material choices, and expected timeline. Keep your contractor’s contact information available and ask how progress updates will be shared.
It is also helpful to keep written records of important decisions. If the scope changes, request written confirmation so both sides understand what has been approved.
Most importantly, choose a contractor who answers your questions and explains the process clearly. A well-organized project should not leave you guessing about what happens next.
Plan Your Exterior Remodeling Project With Prime Home Remod
A successful exterior project starts with clear planning, suitable materials, and professional installation. Prime Home Remod provides exterior replacement and installation services for roofing, windows, siding, and gutters.
Founded by third-generation builder Josh Kroll, the company draws on more than 70 years of family building experience. Homeowners can discuss their project needs and receive guidance on the next steps.
Contact Prime Home Remod to learn more about its services and arrange a consultation.
Frequently Asked Questions
How long does an exterior remodeling project take?
The timeline depends on the type and size of the project, material availability, weather, and the condition of the home. A smaller installation may take less time than a project involving several exterior features.
What should I ask an exterior remodeling company before hiring?
Ask about the project scope, materials, estimated timeline, payment terms, insurance, warranties, cleanup, and how unexpected issues will be handled. Request written details before signing an agreement.
Do I need to stay home during exterior remodeling?
Not always. Many exterior projects can be completed while homeowners are away. However, you may need to be available for access, questions, or important decisions. Confirm expectations with your contractor before work begins.
What happens if the contractor finds hidden damage?
The contractor should explain what was discovered and why additional work may be necessary. Ask for a written description and any cost changes before approving work outside the original agreement.
When should I make the final payment?
Follow the payment terms in your signed agreement. Before making the final payment, review the completed work, discuss any outstanding items, and confirm that agreed corrections have been addressed.
How can I prepare my property for exterior remodeling?
Move vehicles and outdoor belongings away from work areas, keep children and pets at a safe distance, and secure fragile items where needed. Ask your contractor for a preparation checklist based on your specific project.

